Saturday, November 19, 2022

Rosie Makes Fried Shrimp


  I loves me some fried shrimp and this "recipe" is ideal for succulent, sweet, full-flavored shrimp with a crisp, crunchy coating.  The coating does not overpower the shrimp.  And my accompaniments complement the shrimp perfectly.


This is another one of those times when I don't really measure and it all comes out good.  Perfect your technique and don't get bogged down in details.  In frying, it's all about the temperature of the oil.  I always use an instant read laser thermometer to take out all the guesswork.  You want your oil around 375° and you do NOT crowd the pan.  Instead of deep frying today, I used a 10-inch skillet with about 1/3 inch of oil in it. 

To prepare the shrimp, I set up a 3-stage dipping process.  Batter the shrimp while the oil is coming to temperature.
#1  Equal parts flour and cornstarch with some onion powder, garlic powder, and Old Bay seasoning stirred in.
#2  Beaten eggs.
#3  Panko bread crumbs.
 
Combine the flour mixture in a small tupperware container.  Drop in 4-5 shrimp at a time, cover, and shakeshakeshake.
 
Next coat the shrimp in the beaten egg, letting any excess drip off.
 
Finally dredge the shrimp in the Panko.
 
Place each shrimp on a large plate so you can simply tong the shrimp into the hot oil.
 
 Place the shrimp, one at a time, in the hot oil.  I fried in batches of 8 shrimp at a time.  Turn them over after one minute, then cook another 30 seconds.  They'll be a lovely golden brown color.  These fring times are for large shrimp.  About thumb size.  If you have smaller shrimp, adjust fry times accordingly.  Remove from oil and drain on paper towels.
 
 
I'm going for simple here, so I'm using only two dipping sauces.  The Thai Style Sweet Chili Sauce from the Asian section of the supermarket works quite nicely here.  
My other sauce is  soy sauce based:
2 TB soy sauce
1 TB sugar
1 TB mirin
1 TB rice vinegar
Mix until well combined.  Taste test.  You might want to adjust for your own palate.  And if you want to swirl some of the Thai Sauce into the soy mixture, go right ahead.
 
 
Enjoy.


Sunday, November 6, 2022

Rosie Cooks Blacktip Shark.


  Oh, now this was a tasty meal.
Rosie is lucky enough to have her own personal fisherman. He supplies the Hawthornes with tuna, mahi, mako shark, blacktip shark, flounder, tile fish, and some others I can't think of right now, but let's just say Rosie is happy.  I try to reciprocate with cheesecake.  It's a very happy symbiotic relationship we share, mutually advantageous, although I think I'm getting the better deal here.  
 
Today's meal is blacktip shark. Shark that was swimming in the ocean less than 24 hours ago.  I'm marinating the meat, then blackening the steaks in a cast iron pan, cooking down the marinade, and serving it with cole slaw (but not just your regular mayo-based cole slaw), and giving it some crunch with fried wonton strips.

First I sliced the shark fillet into 3/4-inch thick steaks and let them marinate while I prepared the coleslaw and made the wonton strips.


Here's the marinade:
 juice of 3 oranges
juice of 1 lemon
2 garlic cloves, minced
1/4 cup soy sauce
1 TB balsamic vinegar
2 TB chopped parsley
Combine all ingredients, pour into zip-lock bag, and add shark steaks.  Give it a rub and turn the bag over every now and then while marinating.

Prepare the coleslaw:
juice of 1/2 lemon
1 apple, peeled and sliced into julienne strips
1 small carrot, peeled and julienned
1 small red pepper, julienned
2 handfuls dried cranberries
 
Peel the apple and cut into julienne strips, dropping into the lemon juice to prevent discoloration.
Add in the carrot, pepper, and cranberries.  Amounts aren't that exact, so don't worry.  I would say I had 2 parts apple:1part carrot:1 part pepper.

Next, thinly slice the cabbage.  Enough cabbage to equal the volume of the apple, carrot, and pepper.  So maybe 4 parts sliced cabbage.  Combine all together.
 
Toss ingredients.
 
Make the dressing:
1/2 cup plain Greek yogurt
1 TB sugar
1 TB rice vinegar
1 tsp poppy seed
kosher salt and Lawry's seasoned pepper, to taste
Combine ingredients and mix thoroughly.

Pour dressing over salad ingredients and toss to coat.  Cover and refrigerate for about 30 minutes before serving.
 

For the wontons:
Heat oil in a medium skillet over medium high heat to 350°.  Slice wonton squares into strips about 1/4 inch wide.  Fry until golden brown then drain on paper towels.  Sprinkle with kosher salt.

For the shark steaks:
Heat a cast iron skillet (medium high heat) with just a film of peanut oil in it to 425° - 450°.  Drop in a tablespoon of butter and when it sizzles and melts, remove steaks from marinade letting the excess drip off, and place in the pan, one at a time.  Do not overcrowd the skillet.  I used a small skillet, so two steaks at a time for me.  Cook 2 minutes each side and remove from pan.  Let temperature come back up and continue cooking the rest of the steaks.  

After the shark steaks finished cooking, I lowered the temperature and deglazed the pan with the marinade.  Simply pour the marinade into the pan and scrape up the goodie bits. That's where all the flavor is.  Let the marinade boil for about a minute.  Spoon some of the cooked marinade onto your serving plates and place a shark steak on it.  Serve with coleslaw and fried wontons on the side.

Enjoy.


Saturday, October 29, 2022

More Brownies!

Time for brownies.
Again.
 
 
One can never have brownies too often, so I just keep trying out different variations on chocolate.
These are rich, dense, and fudgy and you only need one bowl to mess up for the batter and one 9 x 13- inch pan to bake in.

Here's the latest brownie batch:


1 cup butter (2 sticks), melted  (I always use unsalted butter.)
2 1/2 cups sugar
1 TB vanilla
4 eggs
1 1/2 cups flour
1 cup cocoa
1/2 tsp salt
1/2 cup chocolate chips (bittersweet or semisweet)
 
Heat oven to 350°.
Line a 9 x 13-inch pan with parchment paper and butter it or use non-stick spray.
 
In a large bowl, whisk together butter, sugar, and vanilla until smooth.
Whisk in eggs, one at a time, beating well after each addition.
Stir in flour, cocoa, and salt.
  
Spread batter in prepared pan.  Bake about 25 minutes, or until outer 2-3 inches are set.  You want moist crumbs on a toothpick.  Doesn't have to set all the way because it will continue to cook in the pan.
Let cool.

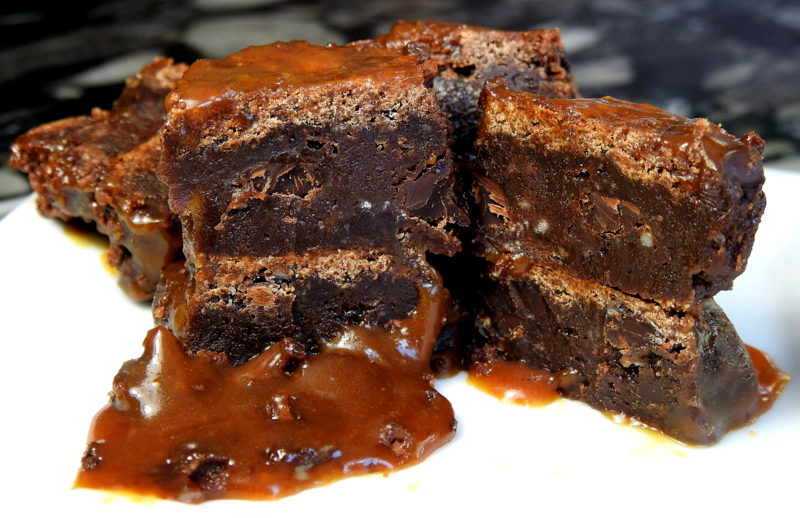
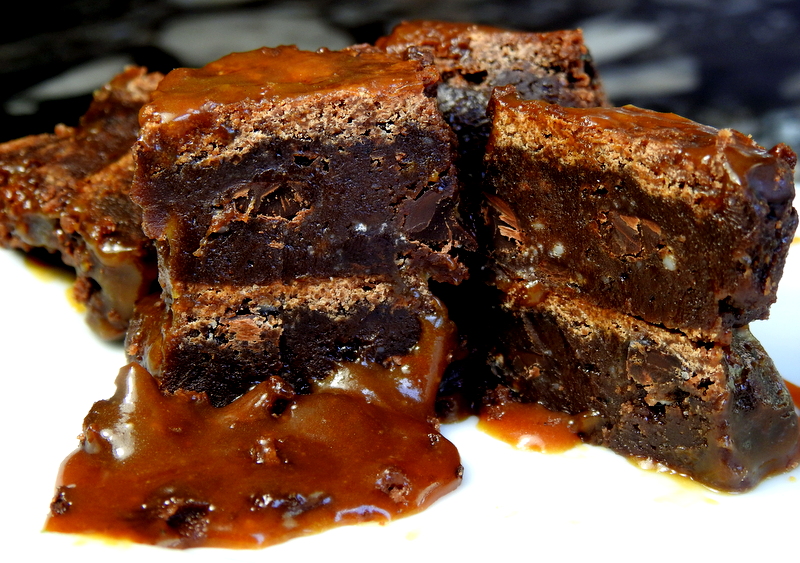
After cooling the brownies, I cut them into squares and sandwiched them together with chocolate ganache.  Then, since I subscribe to the notion that more is more, I cooked up some caramel to add to the partay.


Melted butter and sugar.


Add vanilla.


Add in eggs, one at a time.

Flour in.
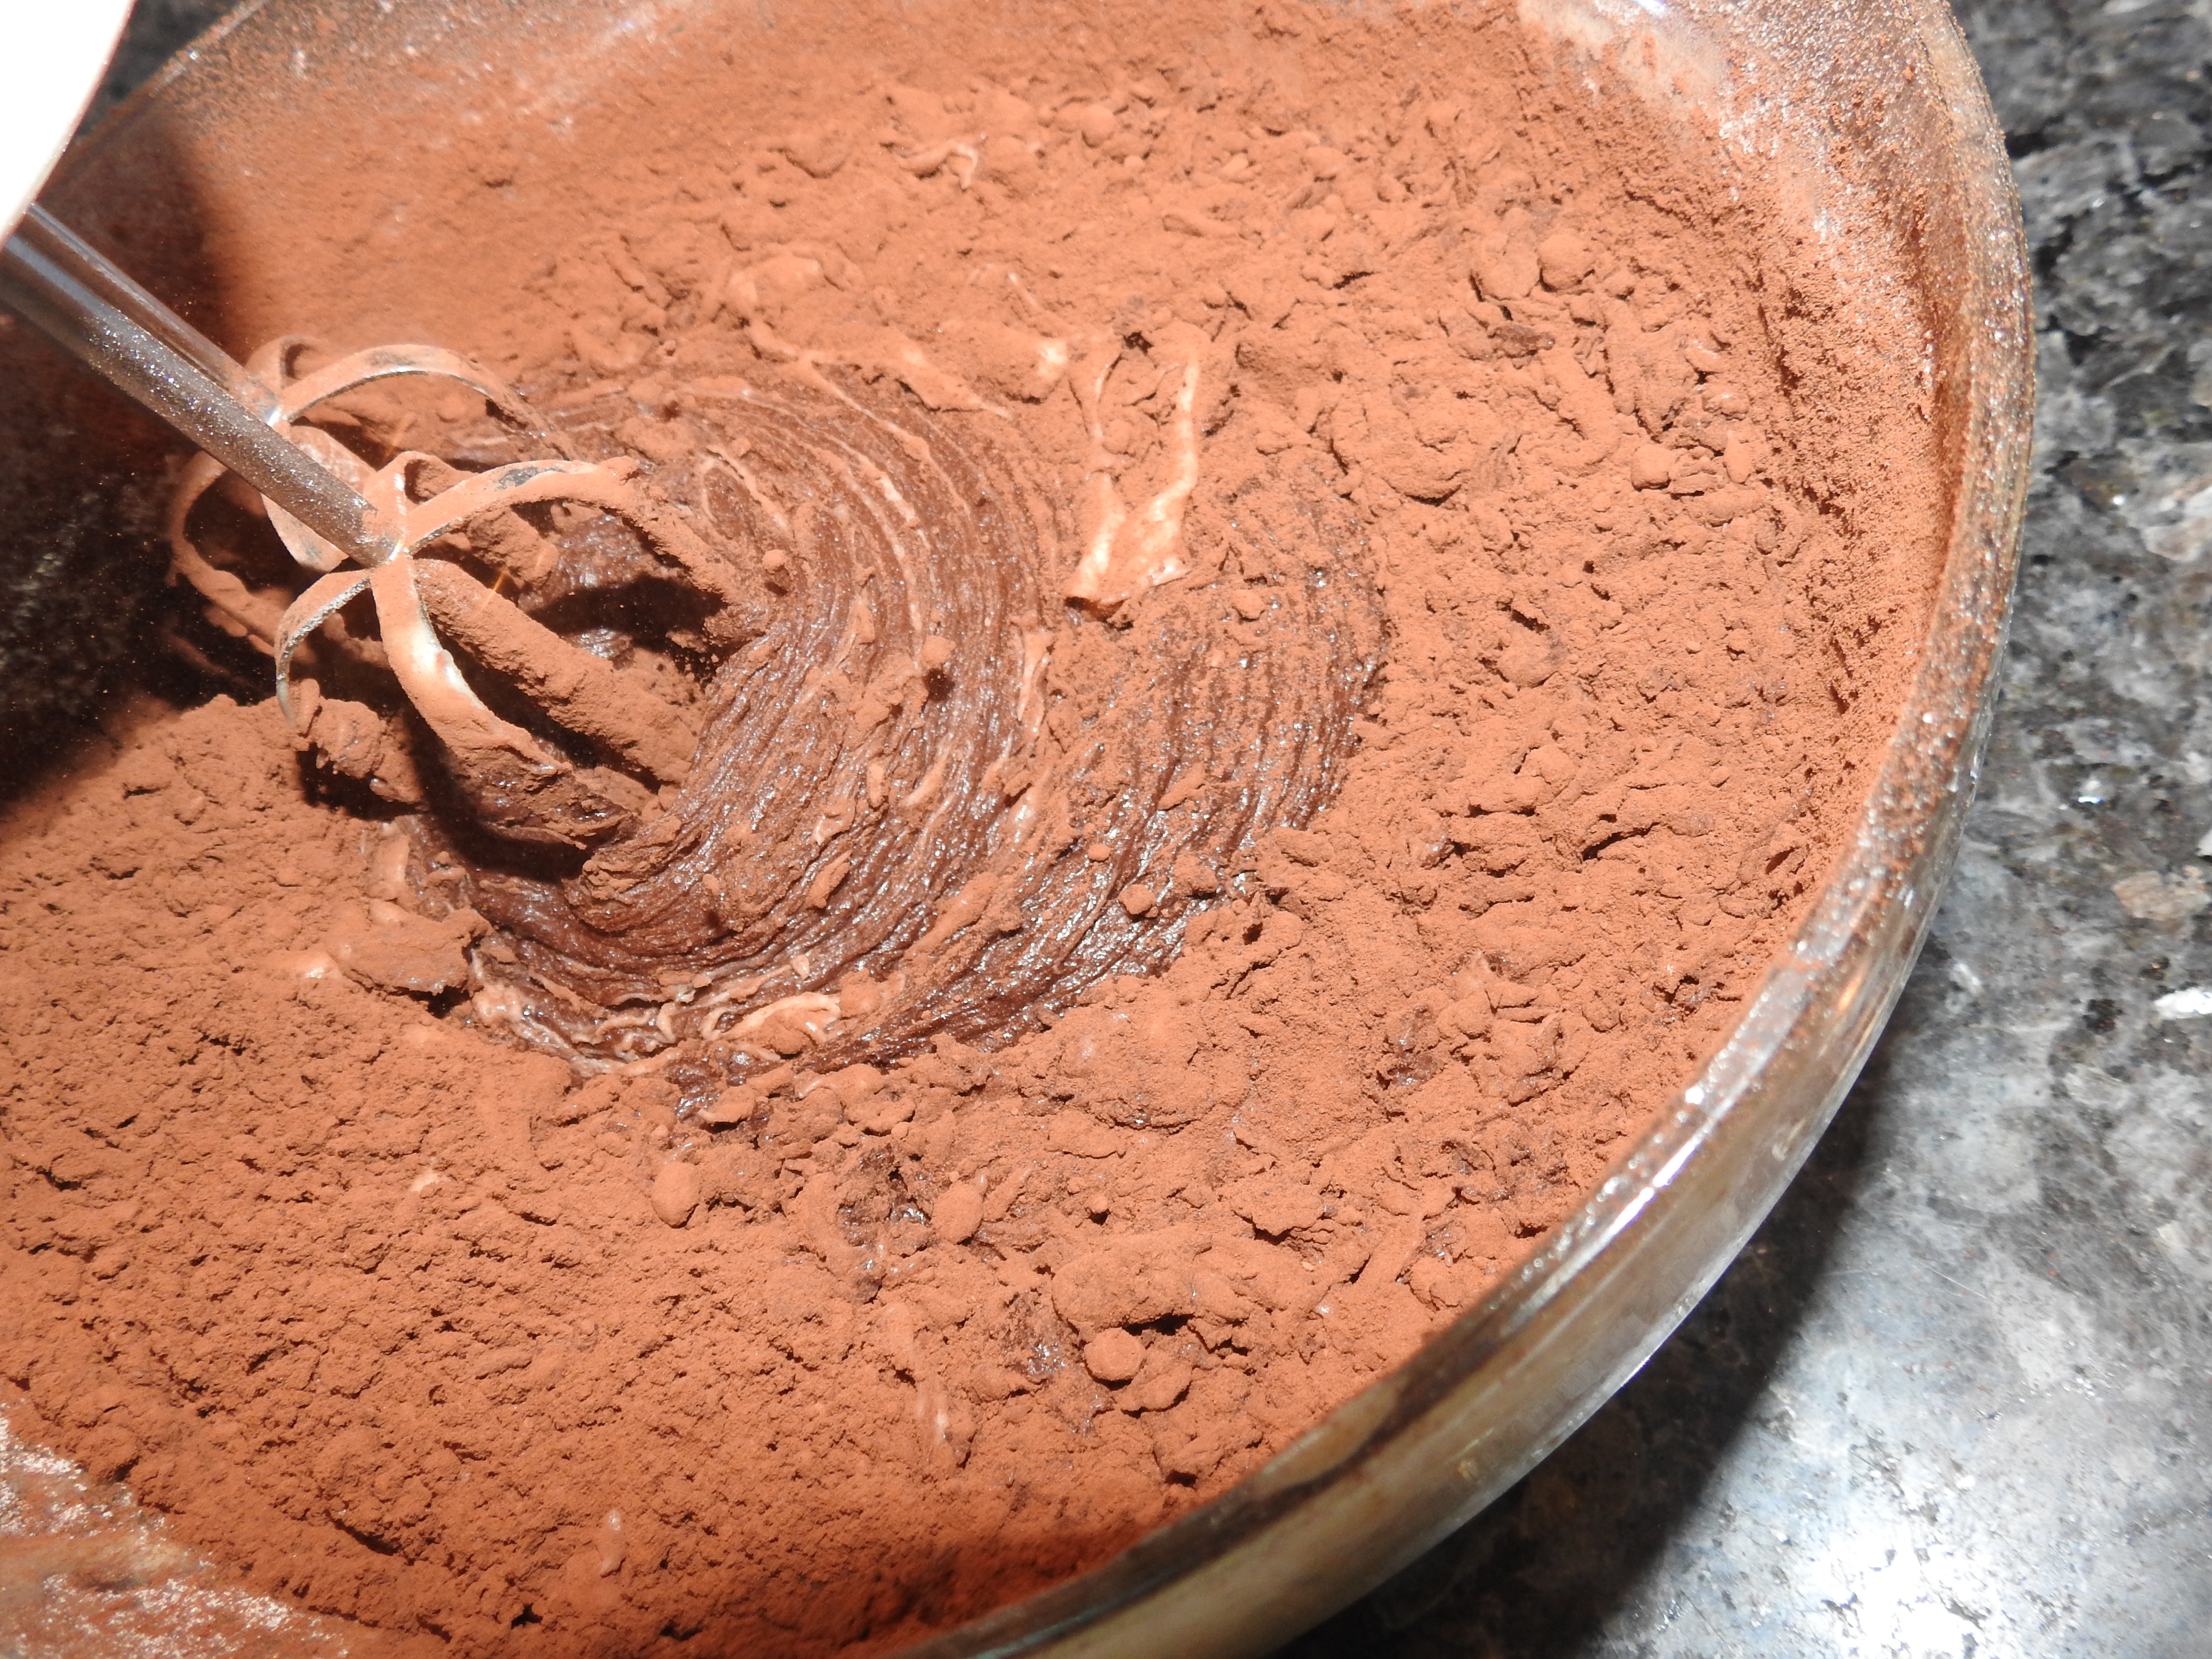
Cocoa powder.
Stir until smooth.

Fold in chips.

Pour into prepared pan.


Ready to bake.

Let cool.


Slice into squares.

I like to add more chocolate to the chocolate, so I'm making chocolate ganache, which is simply a mixture of cream and chocolate.  It can be used as a filling, frosting, sauce, or glaze, depending on its consistency.

For the ganache:
I pour about a cup of heavy cream into a bowl and nuke it until the cream is hot.  Then I pour about 8 ounces of chocolate chips into the hot creamLet the chocolate melt, then stir until smooth.  If you like, you can flavor your ganache.  You can booze it up with a teaspoon or so of rum. Or you can sprinkle in some espresso powder for a coffee kick.  Flavoring is up to you, as is the consistency of the ganache.  I refrigerate whatever ganache I don't use, then reheat later to pour over ice cream.

Next, I decided to go a little further with caramel.
Usually when I make caramel, I carefully and painstakingly melt sugar in a small saucepan, watching it like a mother hen so it melts slowly and doesn't burn.  I've found a new recipe for caramel sauce that takes the worry out of melting sugar and it's super easy.

Caramel Sauce
1 cup light brown sugar, packed
1/2 stick butter (4 oz)
1/2 cup cream
1 TB vanilla
1/2 tsp kosher salt

Combine all ingredients in a small saucepan and simmer over low heat, whisking until thickened, about 8-10 minutes.  It will thicken more as it cools.  You can drizzle the warm sauce over the brownies and refrigerate what you don't use.  Reheat to use over ice cream.


Sunday, October 9, 2022

Tuna #3


I’ve been enjoying lots of tuna lately and it’s been a fun challenge to come up with different ways to prepare this wonderful fish. 


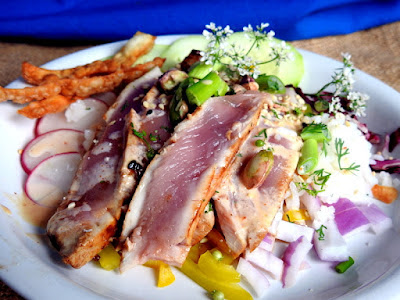
 One of my first preparations was this Non-Traditional Tuna Salad.
My version of tuna "salad" has all the salad fixin's - sliced cabbage, radicchio, red onion, radishes, cucumber, avocado, sweet peppers, Fresno chilis, toasted pistachios, sesame seeds, sliced scallions, cilantro and fried wonton strips for "croutons."  The tuna was marinated, then seared and sliced, and it's served on a bed of lime/cilantro rice with a sriracha and soy sauce dressings on the side. It explodes with colors, textures, and tastes.
 
My second tuna preparation was Herbalicious Tuna.
 
This tuna was also seared and sliced and then served with an herbal condiment - sort of a combination chimichurri and gremolata.  A fresh tomato and cucumber salad straight from the garden accompanied the tuna.

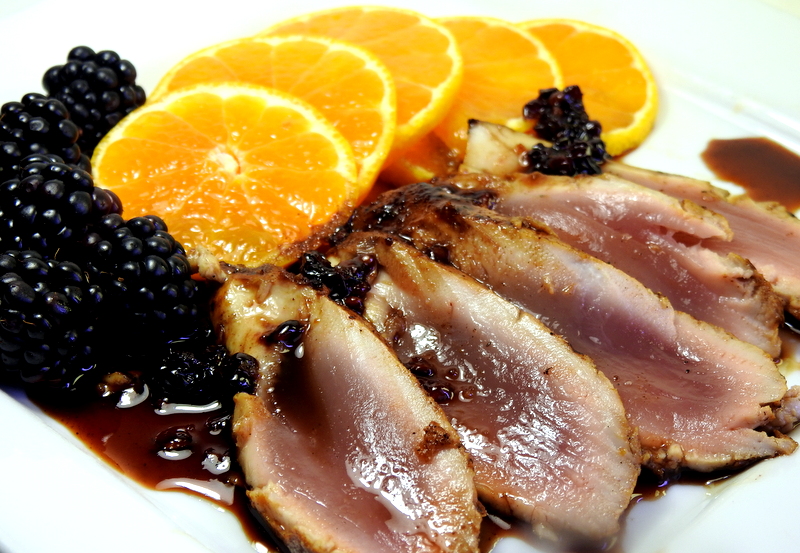
 My third preparation is marinated tuna served with a blackberry sauce.  I’m marinating inch+-thick tuna steaks, then searing the outside, leaving the inside deliciously rare, almost butter-like. The steaks are then sliced and accompanied by my version of a gastrique.

  I like to offer new techniques and ideas for you to try and today’s contribution is a gastrique, a French name for a sweet and sour sauce.  The sweet component typically comes from sugar (and honey, in my case) and fruit; the sour element from vinegar.  The combination is cooked down, or reduced, along with other flavor infusions.  The result is a sweet and tart syrup-like sauce which is an excellent complement to the tuna, enhancing the fish and amplifying its flavor.  A gastrique is beautifully versatile.  With one basic technique, you can create many different variations depending on what fruits, vinegars, and flavorings you choose.  For this preparation, I’m using blackberries and balsamic vinegar.

I would be remiss if I didn't explain about balsamic vinegar.

  Balsamic vinegar is a dark, syrupy vinegar, glossy and viscous, slightly sweet with a mellow tartness, bold with a rich complexity, and intensely flavored.  There are many varieties in stores and you want to find a good one, not a poor imposter. 

 True balsamic vinegar comes from only two areas in Italy – Modena and Reggio Emilia.  The production of balsamic vinegar is a time-honored tradition and process and dates back to the Middle Ages so quality balsamic vinegar won’t be cheap because you’re paying for knowledge, tradition, history, craft, and time.

So, how do you choose a quality balsamic vinegar?  You check the labels.  You’re looking for one of two designations on the bottle:  DOP or IGP.  The DOP and IGP labels serve to preserve Italian culinary heritage, allowing consumers to distinguish authentic regional specialties from low-quality knock-offs.  The need for guaranteed authentic products began in the mid 1900s when Italian cuisine gained popularity in the United States and other areas.  To supply the increasing demand for Italian products, the market became flooded with mass produced, inferior imitations of Italian products, all sold under the guise of the high quality products they tried to copy.  (For example, think about the green can of “Parmesan” cheese vs authentic Parmigiano Reggiano.) To protect their culinary reputation and the uniqueness of certain food products, to protect names from misuse and imitation, and to guard against food fraud, Italy worked with the European Union to create legal certifications to insure quality, tradition, reliability, and authenticity.  To earn the labels, producers must adhere to a strict set of guidelines, overseen by the government.

 The red DOP stamp on a bottle stands for Denominazione d’Origine Protetta,or Protected Designation of Origin. This stamp is a European Union certification and a designation of authenticity that guarantees that the vinegar was made only in Modena or Reggio Emilia, from grapes of those regions, using traditional methods and recognized techniques, with production overseen from beginning to end by a special consortium dedicated to safeguarding the product. By law, only DOP products can carry the word “traditional” on their labels.  Aceto Balsamico Tradizionale di Modena DOP or Aceto Balsamico Tradizionale di Reggio Emilia DOP are the Mothers of  balsamic vinegars. The sole ingredient is grape “must,” the must being the whole pressed grapes (including juice, skin, seeds, and stem), only from the designated regions of Modena or Reggio Emilia. Aged for at least 12 years in a series of barrels and sold in wax-sealed bottles with unique identification numbers, these vinegars are quite expensive.  They are not what I’d recommend for this particular recipe because of the cooking involved. Heating these vinegars would affect the properties of the vinegars, destroying subtle flavors and their distinctive bouquets.  These vinegars are meant to be tasted and enjoyed sparingly and judiciously.

 For a good quality balsamic vinegar, and one more to my budget, I look for the blue IGP seal.  This designation – “Indicazione Geografic Protetta” or Indication of Geographic Protection, is similar to DOP.  A consortium controls the production process from beginning to end, but the regulations are less strict. At least one phase of the process must be done in the areas of Modena or Reggio Emilia. To keep up with the demand for balsamic vinegar, derivative methods are employed, using grape varietals typical of, but from outside, the Modena and Reggio Emilia regions.  The processing, however, takes place in Modena and Reggio Emilia facilities with consortium approval. The aging process is nowhere near as long and IGP vinegars will likely contain additional ingredients besides the grape must – notably, wine vinegar, thickeners, and caramel.

 For my purposes, a balsamic vinegar with the IGP label will work just fine with this recipe.


 Now, on to the tuna.


For the marinade: 
¼ cup orange juice
¼ cup soy sauce
1 TB fresh minced ginger root
Combine ingredients and marinate tuna while you’re making the sauce.
 
  
 Blackberry and Balsamic Vinegar Sauce
½ cup balsamic vinegar
Zest and juice of two oranges
2 TB sugar
2 TB honey
1 cup blackberries, plus more for garnish

Combine ingredients in small sauce pan and heat low and slow until mixture is reduced by half.  Takes about 30 minutes, but you need to watch it because this can burn quickly.  I always set the sauce pan in a cast iron pan so the heat is diffused and it cooks evenly.  When reduced, add in a handful (or more) of blackberries, mashing them into the sauce and heating through.  Remove from heat.

 To plate, lay the seared tuna next to thin orange slices, spoon the reduction sauce over the tuna, and tumble on some whole blackberries.


Enjoy.


Sunday, September 18, 2022

Rosie Makes Herbalicious Tuna.


 I have another tuna preparation for you today.  Today's tuna dish is "Herbalicious Tuna." It's seared and sliced tuna steaks served with an herbal condiment and a fresh garden salad.  All the flavors come together in this preparation.  You have the brightness of citrus and herbal flavors along with a tomato and cucumber salad.  My herbal condiment combines the citrus fragrance of lemon zest with the grassiness of parsley, the sweetness and pepperiness of basil, the refreshing coolness of mint, and the savory pungency of garlic.  It's light and summery and simple.


Remember my Tuna Connection?
He scored once again and I have this nice tuna loin.

 The first tuna dish I made was my Non-tuna salad - a non-traditional, unconventional salad, of sorts, which was both lovely to look at and lovely to eat.  Colors, textures, and flavors were exceptional.
 
In case you missed it, here's the recipe.

Now, back to today's tuna delight.
 

  First, I sliced the tuna into generous 1-inch thick steaks.
I'm not bothering with a marinade here.  I just sprinkled on some Lawry's seasoned pepper and Togarashi seasoning before searing.  Togarashi is a combination or red chile flakes, black and white sesame seeds, nori (seaweed), poppy seeds, and lemon and orange zests. 


I heated my cast iron skillet over high heat and added a swirl of peanut oil.  (Peanut oil for the high smoke point.)  Let the temperature get to at least 475°.  Add in a pat of butter and let it melt, and then place in your tuna steak.  I'm using a small pan here, so one steak at a time.  You don't want to crowd the pan which lowers the heat.  You want that pan hothothot to get that nice sear.

  I like my tuna on the rare side, so cook for 1 - 1 ½ minutes on the first side, turn over, and cook for a minute on the other side.  Remove from pan and let rest a couple minutes before slicing and plating.


For the herbal condiment:
 ½  oz. parsley
¼  oz. basil
  oz. mint
1 garlic clove
Juice and zest of one lemon
1 TB oil
Kosher salt, to taste 

If you don’t have a scale to measure in fractions of an ounce, go with a yepsen of parsley, a handful of basil, and a half handful of mint.  And by the way, a yepsen is a unit of measurement.  It’s the amount that can be held in two hands cupped together.

Mince the garlic, finely chop the herbs, add in the juice and zest of the lemon, then stir in the oil.  Pinch of salt.  

I served the tuna slices with a fresh salad from the garden.

 Simple Garden Salad 

½ cup diced cucumber
½ cup diced tomato
¼ cup chopped red onion
1-2 tsp minced jalapeño
1 TB chopped fresh basil
2 TB chopped fresh parsley
 
Combine ingredients and toss with dressing:
1 TB sugar
2 TB cider vinegar
Kosher salt and freshly ground pepper, to taste

Cover and refrigerate 30 minutes before serving.

To plate, arrange tuna slices, spoon herbal dressing over top, and nestle in the tomato-cucumber salad.


Enjoy.